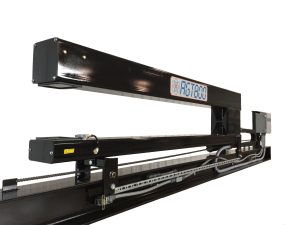
The AGT800XT laser thickness gauge is designed to measure the thickness of any material accurately and consistently. Including steel, copper, aluminum, plastics, wood, gypsum, rubber composites and more.
After ten years of continuous improvements to our market leading laser thickness gauge, we have launched the next generation of the AGT800. The AGT800XT (eXtended Technology) includes a completely new motion control system for the most accurate oscillating measurements ever. Revised temperature compensation now corrects for ambient and localized temperature changes. With a robust steel C-frame the AGT800XT will stand up to the harshest environments.
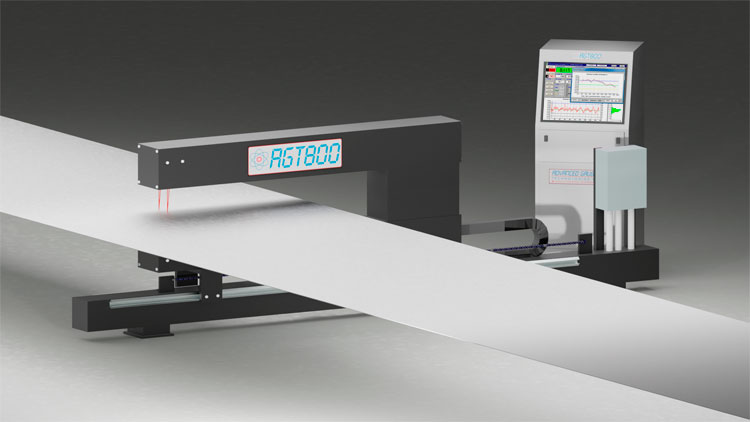
- Non-contact laser thickness measurement with high precision short line Keyence class 2 lasers. Laser measurement removes problems associated with material density. The short line laser eliminates measurement noise from material scratches, small blemishes and light dirt.
- Ridged steel frames that stand up to harsh environments, won’t corrode from toxic fumes, and minimize the effects of plant temperature changes.
- Temperature compensation optimized for localized and ambient environment changes to improve measurement accuracy and minimize recalibration.
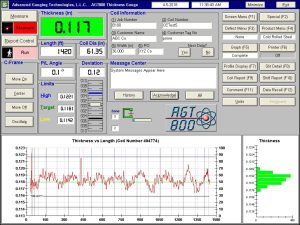
- Across sheet thickness profile and edge indicators show the amount of material crown or wedge.
- No radiation, no special license and no registration costs.
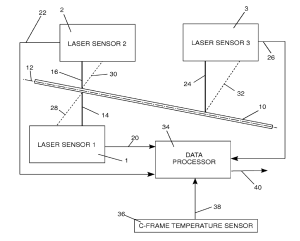
- Optional patented Passline Angle Compensation uses a third laser to correct for sheet angle changes.
- Optional Keyence confocal lasers for textured, porous and transparent material.
- Automation with two methods of job information population by a level 2 system (Auto Data Entry). Simple file writing with a single PLC or operator triggered data entry. TCP/IP HMI interface for data exchange and gauge control. Simplified gauge starting with Auto Data Gathering. A single operator trigger brings the gauge online, starts measuring, starts data logging and starts oscillating.
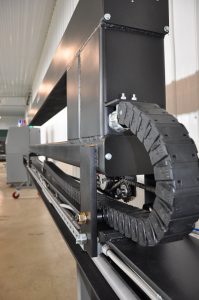
- Single position and oscillating C-frames from 12” to 110”. Oscillating O-frames from 12” to 110” for a smaller footprint.
- Local and/or network data and report storage.
- Lifetime software updates, online, e-mail and phone support at no charge.
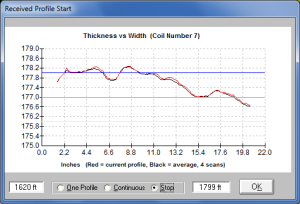
- Width Mode displays the cross-sheet thickness in detail along with the average of all scans. Thickness over length is still recorded and is available in the report.
Our operation and calibration software is so easy and intuitive to use most customers never even open the manual. Our specifications below reflect real-world accuracy and performance not laboratory conditions specified by some other companies.
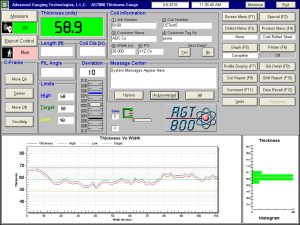
Operational Functionality
Diagnostic Data
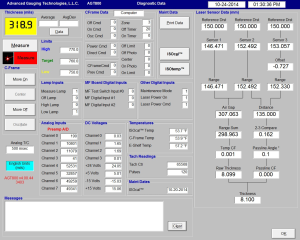 Advanced Gauging Technologies is a service-oriented company, and for that reason, we’re proud that all our thickness measurement gauges have incredibly useful built-in diagnostic features. The diagnostic Data Screen shows the real-time status of all digital and analog I/O, nominal and actual power supply voltages, and much more. All the major test points in the system are displayed simultaneously, making troubleshooting a very straightforward process. This screen can easily be printed and emailed or faxed to A.G.T. for troubleshooting assistance.
Calibration
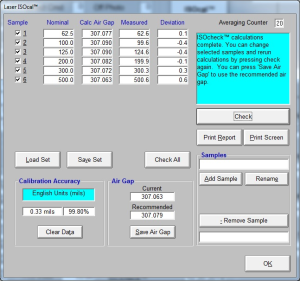
The AGT800™ includes automatic and real-time temperature compensation to eliminate the need to calibrate between every coil. The stability and accuracy have been proven in the field in all kinds of environments.
Options
The oscillating c-frame option provides more complete information as it scans the thickness across the width of the sheet instead of just one or two points. The oscillating configuration equipped with additional logic and control circuits enables the gauge to automatically sense strip edges and scan from one edge to the other. In this configuration, the Profile Display Screen and Reports are enabled, which show a strip cross-section of thickness versus width.
Patented technology using a third laser sensor to
determine passline angle. U.S. Patent #9151595
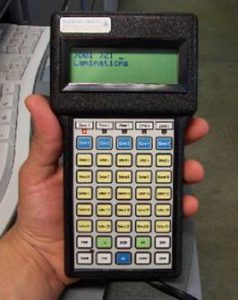
Allows inspectors a convenient method of logging strip defects as they are spotted. Available in single or dual handheld keypad configurations, for one or two-sided inspection lines. Read More
Includes an additional remote monitor, keyboard, and touchpad mouse.
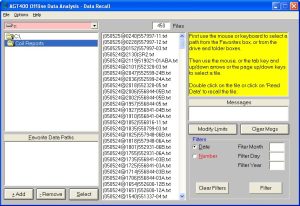
Allows easier access to coil reports by enabling the recall of reports from a single or multiple gauges simultaneously via a company network or USB stick. Reports can be accessed without interrupting the gauge measurement or line operation. Also allows coil reports to be formatted as PDF files.
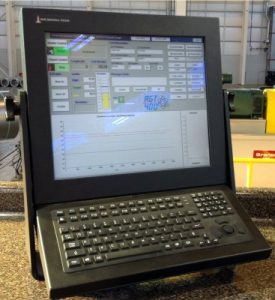
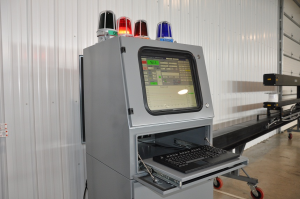
Standard system includes a 17″ LCD flat screen. Optional monitors include a 17″ remote flat screen unit, and a touchscreen.
To replace the standard system local printer.
Specifications
Real World Specifications |
||||
| AGT800 (50) | AGT800 (80) | AGT800 (150) | ||
|---|---|---|---|---|
| Thickness Range | 0.06 to 6.3 mm. (.003 to .250″) |
0.10 to 10 mm. (.004 to .400″) |
0.19 to 19 mm. (.008 – .750″) |
|
| Air Gap | 63.5 mm. (2.500″) | 123.5 mm. (4.862″) | 263.5 mm. (10.375″) | |
| Measurement Range | ± 7 mm. (± 0.28″) | ± 12 mm. (± 0.47″) | ± 25 mm. (± 1.00″) | |
| Calibration Accuracy | < 3.3 μm (.13 mils) | < 5.3 μm (.21 mils) | < 10 μm (.39 mils) | |
| Resolution | < 1μm (.04 mils) | 1μm (.04 mils) | 1μm (.04 mils) | |
| Linearity | ± 8.0 μm (± .31 mils) | ± 14.4 μm (± .57 mils) | ± 32.0 μm (± 1.26 mils) | |
| IEC/IFDA (CDRH) Laser Class | Class 2/Class II | Class 2/Class II | Class 2/Class II | |
| Analog Output Resolution | 1 µm | 1 µm | 1 µm | |
| Precision (noise) | ~ 5 µm | ~ 5 µm | ~ 5 µm | |
| Temperature Range | 0 to 50° C (32 to 122° F) |
0 to 50° C (32 to 122° F) |
0 to 50° C (32 to 122° F) |
|
| Relative Humidity Range | 35 to 85% (no condensation) | 35 to 85% (no condensation) | 35 to 85% (no condensation) | |
| Frame Options | Oscillating O-frame, Fix short span frame | Oscillating O-frame, Fixed C-frame | Oscillating O-frame, Oscillating C-Frame & Fixed C-frame | |
